Did you find an error in this page? Please report it. eBook version 12.
In this chapter I will show you how to start work on a new project in KiCad.
Open KiCad. The main project window will look like this (Figure 3.4.1):
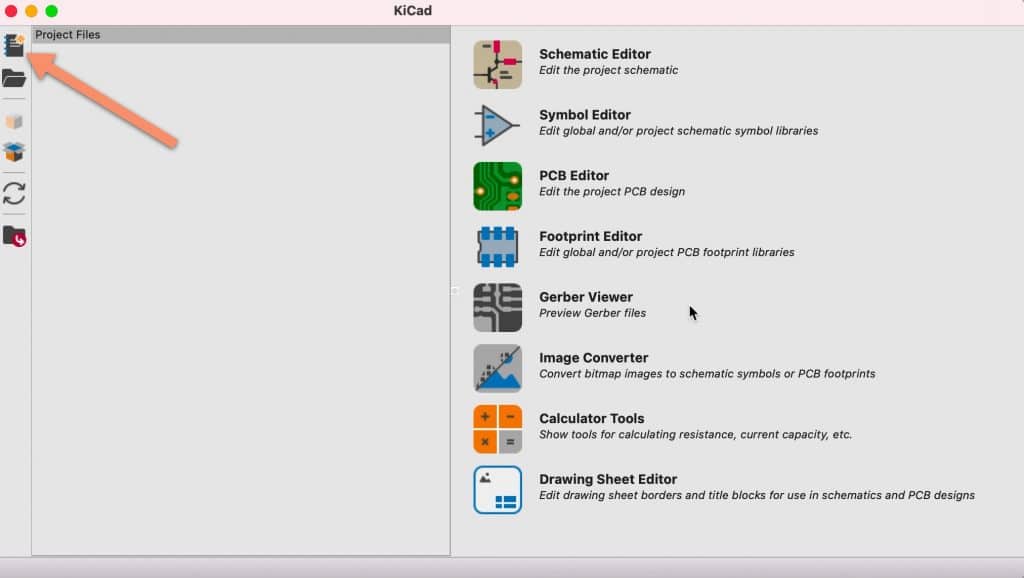
The arrow points to the new project button. Don’t click on it just yet! You will need a location on your computer’s file system to store the project. I have a central location for all projects in this book, which you can see below:
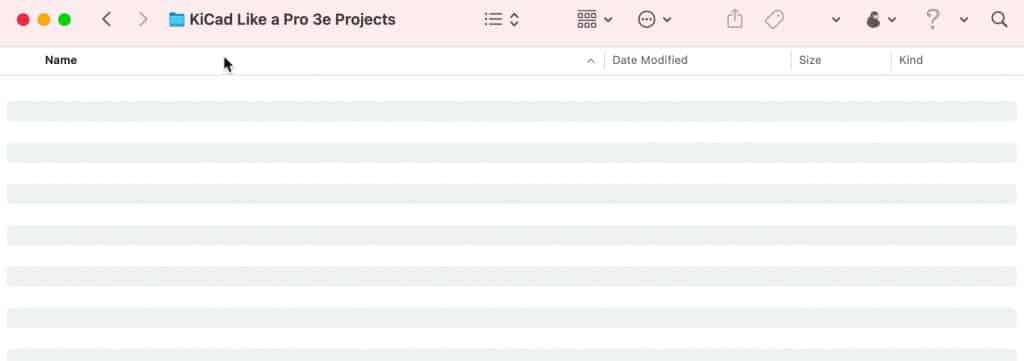
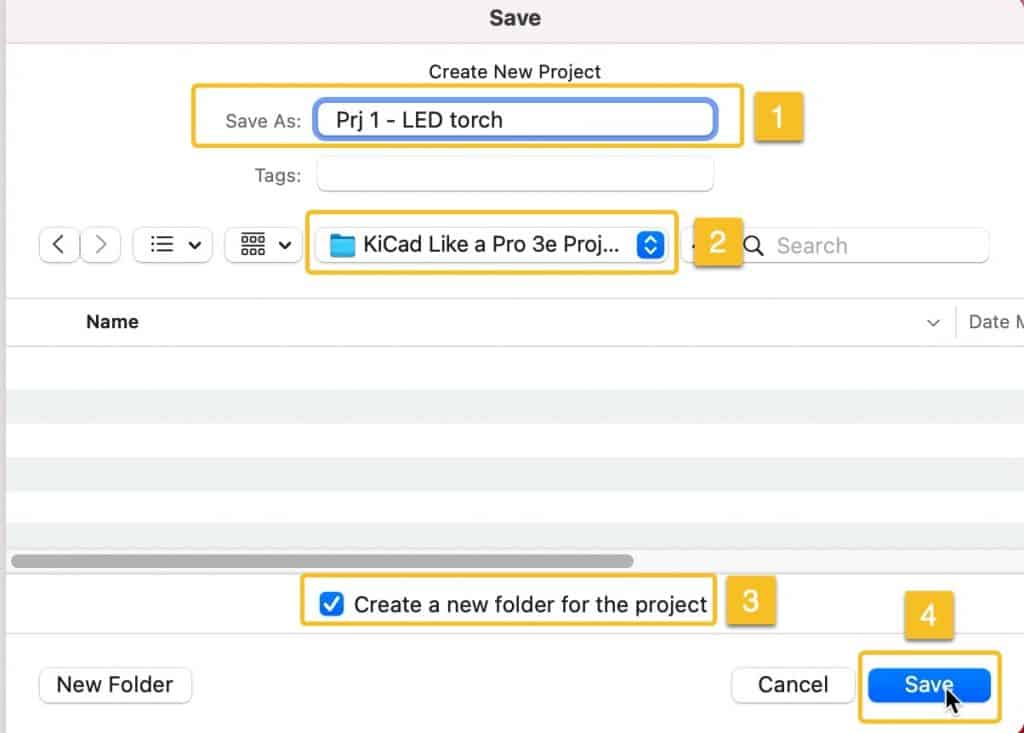
I have named this directory “KiCad Like a Pro 3e Projects”, and it is empty at the moment. I have placed this directory on a file system that is backed up to the cloud automatically. Using an automated cloud backup service is an additional layer of safety for my important projects. Go ahead and click on the new project button (see arrow in Figure 3.4.1). KiCad will ask you for a name and location for your new project. In the dialog that appears (Figure 3.4.3), provide a name (1), location (2), enable the new folder creation option (3) and click Save (4).
KiCad will create a new folder to contain the new project files (Figure 3.4.4):

The new project directory contains the three primary files: project, schematic and layout.
You now have a new KiCad project, and you are ready to continue work with step one of the schematic design workflow. Before you do this in the next chapter, take a few moments to familiarise yourself with the available apps through the main KiCad window. You can open those apps using the buttons in the right pane of the main KiCad window (Figure 3.4.1). Apart from the Schematic and Layout editors, you can see:
- The Symbol Editor.
- The Footprint Editor.
- The Gerber Viewer.
- The Image Converter.
- The Calculator tools.
- The Drawing Sheet Editor.
In the following projects in this book, you will learn how to use these tools, especially the symbol and footprint editors and the Gerber viewer. There are dedicated chapters about the symbol editor, footprint editor, and image converter. I have provided information on how to use these tools in all projects.
Now is a good time for you to take a few moments and “play” with these apps before you dive into this first project.
You should also be familiar with the contents of the Preferences menu in the main KiCad window. Under preferences, you will see three main items: Configure Paths, Manage Symbol Libraries, and Manage Footprint Libraries (Figure 3.4.5).
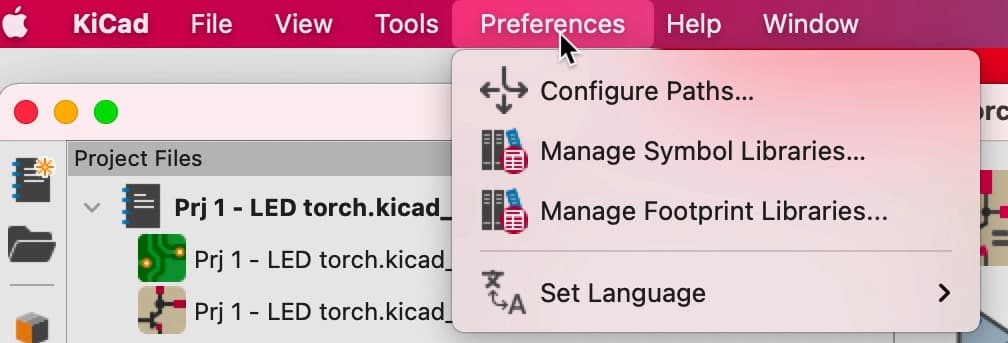
The symbol and footprint library manager windows have a similar structure. Each one allows you to set libraries that are accessible globally (i.e. used in all KiCad projects) or only by the currently open project. You can add, remove and edit library entries. You can learn how to use these managers in dedicated chapters (symbol library manager and footprint library manager).
Also under the Preferences menu item is the Configure Paths window. It looks like this (Figure 3.4.6):
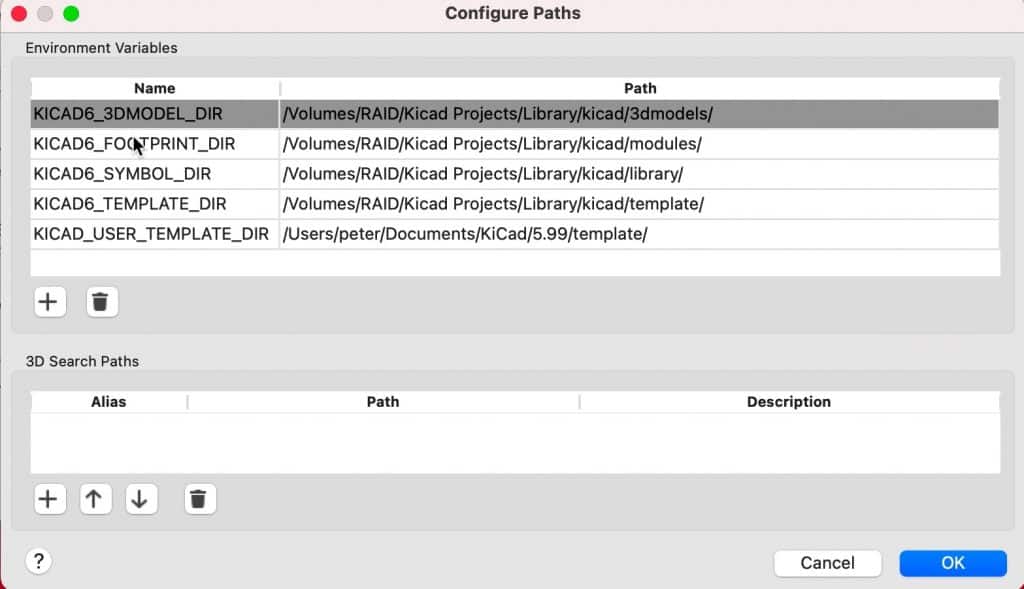
The settings in this window apply to all KiCad projects. As you can see in the example above, I have edited the default paths to point to my external RAID drive. The default paths point to a location on the main computer drive. My computer’s primary disk drive is a small but fast SSD, while the external RAID is large and redundant. Because KiCad’s libraries (especially the 3D models) can occupy tens of gigabytes of space, I chose to store them on the external drive. I have not noticed any performance penalty since KiCad keeps library information cached within the project folder. Before you continue, decide if you would like to make any changes to your KiCad instance paths. I found that doing this mid-project can cause problems that are easy to avoid by planning.
Finally, you may want to set up the common KiCad preferences found in the Preferences window. Open the Preferences window and browse through the contents of the Common, Mouse and Touchpad, and Hotkeys tabs (Figure 3.4.7).

I find that the defaults work well. You can see the settings I am using throughout the projects in this book in Figure 3.4.7. You may want to experiment with the options in the Accelerated Graphics dropdown (in the Common tab) to find a good balance between graphics quality and performance that works best with your computer hardware.
Ready to continue? Go on to the next chapter.